There aren’t many homeowners in Dallas-Fort Worth, Texas that have expertise in managing a roofing project. Your roof plays a crucial role in protecting your home and family from the elements. When it’s time to choose a reputable roofing contractor for a roof replacement, the process may seem daunting. However, if this step by step guide helps you understand the main steps involved in the process of roof replacement, you can make informed decisions to ensure your home has a healthy roof for years to come.
In this blog, we’ll outline the three essential steps to a roof replacement, providing insights and tips that can help you through the process. If you’re considering replacing your roof, keep reading to learn more about what to expect, and don’t forget to refer to the quick reference bullet points at the end.
Step 1: Inspection and Assessment
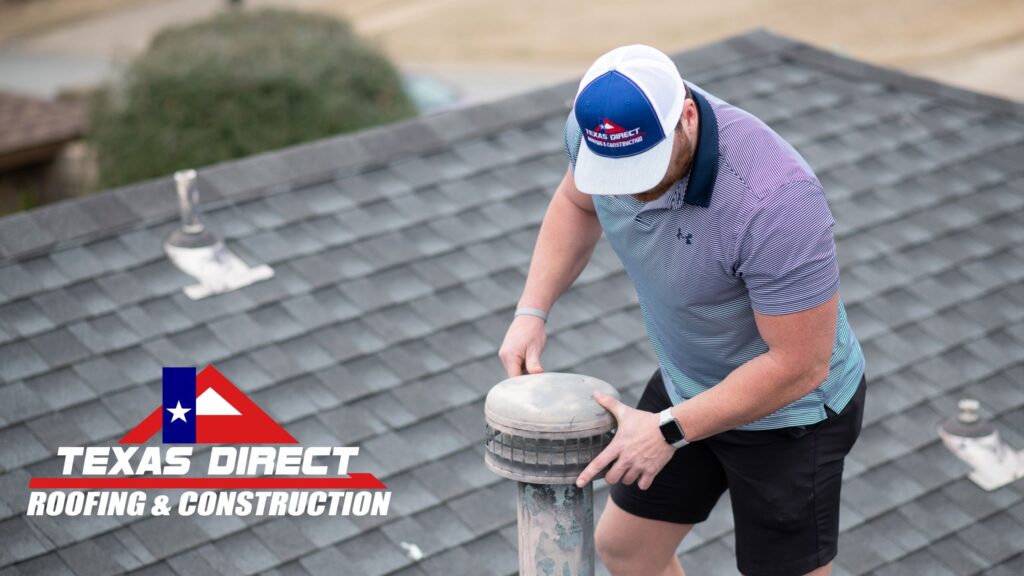
The first and most critical step is to have your roof inspected by a professional roofing contractor. An experienced roofing team like Texas Direct Roofing & Construction will help determine the extent of the shingle damage and whether a roof replacement is even necessary.
Main Points of a Roof Inspection:
- Roof Age: In Texas, Asphalt shingle roofs typically last between 15 to 25 years, depending on the materials used.
- Shingle Condition: The roofing team will look at the roof materials for signs of wear, such as curling, cracking, or missing shingles.
- Water Damage or Leaks: Any water stains on your ceiling or attic could indicate a leak. A roof inspection will determine whether a replacement is needed to prevent further damage.
- Structural Integrity: The roof inspection will also check for sagging or soft spots in the roof deck that might indicate underlying structural problems, often caused by water damage.
Your roofing contractor can then present their findings and recommend the best action. If a replacement is necessary, they will discuss material options and provide an estimate.
Common Signs You May Need a Roof Replacement:
- Asphalt shingles are cracked, missing, or curling
- Granules from roof shingles are visible in gutters
- Leaks during rainstorms
- The entire roof is more than 15 years old
Step 2: Selecting Roofing Materials and Preparing for Installation
Once the decision to replace your roof is made, the next step is to choose the right roofing materials. The material you select will affect the overall durability, appearance, and energy efficiency of your home.
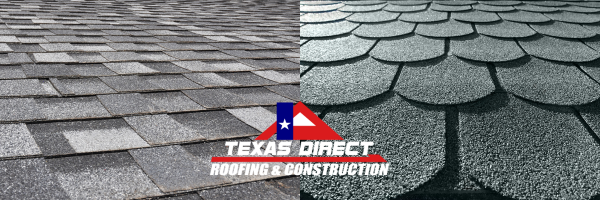
Common Roofing Materials to Consider:
- Asphalt Shingles: The most popular choice for homeowners due to their affordability, ease of installation, and variety of styles and colors.
- Metal Roofs: A long-lasting option that provides an extra layer of protection against severe weather, especially in areas prone to hail or high winds like Dallas-Fort Worth.
- Clay or Concrete Tiles: These are a great option for homes with a Mediterranean or Southwestern style. They offer longevity and excellent heat resistance, but they require installation by experienced professionals.
- Slate Roofing: While these roof shingles are more expensive, slate roofs offer exceptional durability and an upscale appearance, lasting over 30 years with proper care.
- Wood Shakes or Shingles: They aren’t starter shingles, but for a rustic look, wood shakes offer natural beauty but require regular maintenance to prevent decay in humid climates.
After selecting the material, you’ll also need to prepare your home for the upcoming roof replacement. Here’s what to expect:
- Permits and Paperwork: Many cities require a permit for roof replacements. Your roofing contractor will handle the necessary paperwork and ensure everything complies with local codes.
- Home Preparation: A roof replacement can be a loud, disruptive process. Move valuables away from walls, cover items in the attic to protect them from dust, and park your vehicles away from the house to avoid any debris.
- Timing: Depending on the size and complexity of the roof, the replacement process can take anywhere from one day to a few day. Your project manager will give you a timeline based on the scope of work.
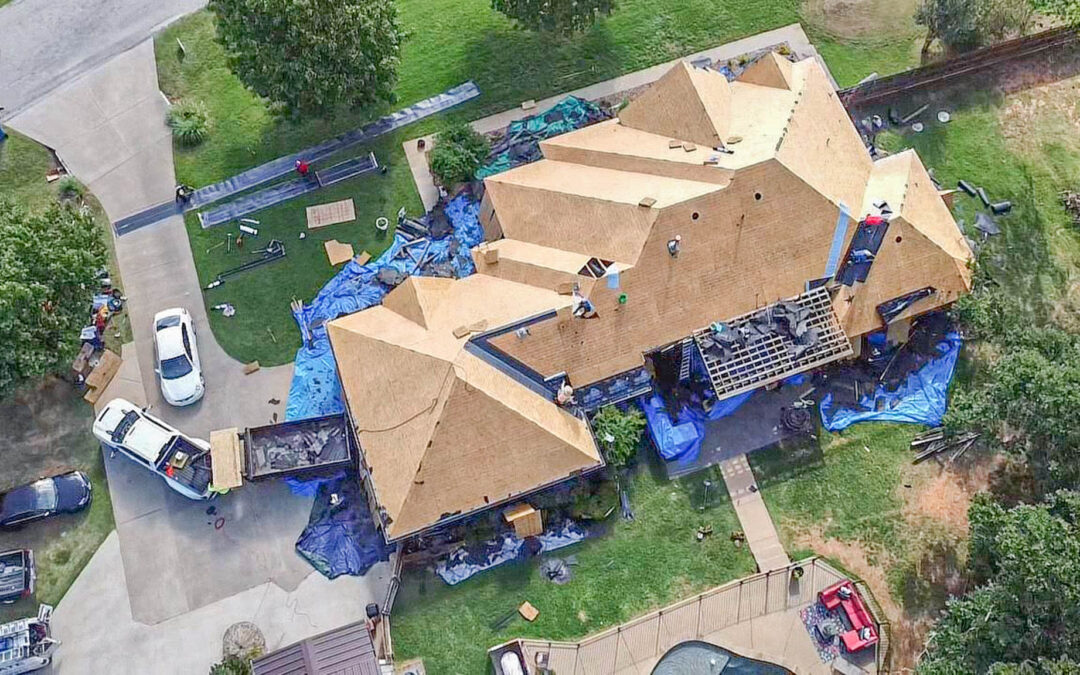
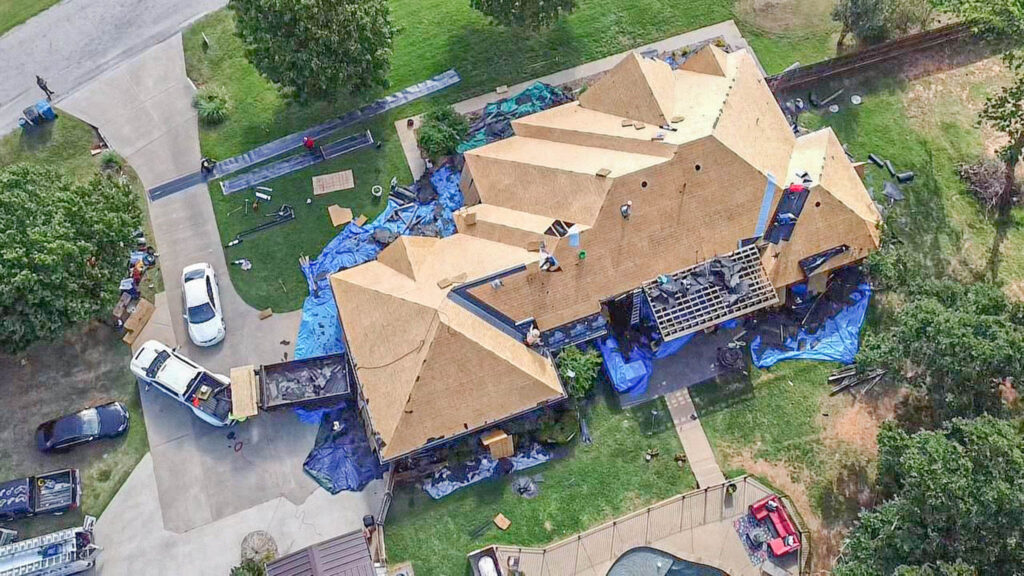
Step 3: Installation and Final Inspection
With materials selected and preparations made, the actual installation can begin. During this stage, your roofing contractor will remove the old roof, make any necessary repairs to the underlying structure, and install the new roofing materials.
What Happens During Installation:
- Tear-Off of the Old Roof: Your old roof will be removed to the roof deck, allowing for a thorough inspection of the structure underneath.
- Deck Repair: Any damaged sections of the roof decking will be repaired or replaced to ensure a solid foundation for the new roof.
- Underlayment Installation: Before the new shingles or tiles are installed, a waterproof underlayment is applied onto the roof deck to protect your home from moisture.
- New Roof Installation: Once the roof deck is checked and underlayment is in place, the new shingles, metal, or tiles will be installed according to the manufacturer’s specifications. The contractor will pay attention to flashing, vents, and other vulnerable areas to ensure they are properly sealed.
- Clean-Up: After installation, the crew will clean up all roofing debris, including loose nails and old roofing materials, leaving your property neat and tidy.
Final Inspection and Warranty
Once the installation is complete, the contractor and local building inspectors will conduct a final inspection. This ensures that the roof was installed correctly and meets all safety standards. Review any warranties provided by the manufacturer and contractor, as they will give you peace of mind in case any issues arise in the future.
Key Takeaways:
- Step 1: Inspection and Assessment: Identify any damage, leaks, or wear and tear, and determine whether a replacement is necessary.
- Step 2: Select Materials and Prepare: Choose roofing materials based on durability, appearance, and climate conditions, and prepare your home for installation.
- Step 3: Installation and Final Inspection: Old roof removal, underlayment installation, and the placement of the new roof, followed by a final inspection and clean-up.
Conclusion
Replacing your roof is a significant investment, but it’s also a crucial step in maintaining the integrity and value of your home. By following these three steps, you can ensure a smooth, stress-free roof replacement process. Whether you’re dealing with storm damage or your roof has simply reached the end of its lifespan, partnering with a trusted roofing contractor will ensure you get the job done right.
If you’re a homeowner in the Dallas-Fort Worth area and are considering a roof replacement, contact us today for a free inspection and estimate. We’re here to help you protect what matters most—your home and family.