A well-maintained roof is crucial for the safety of a home, but many homeowners overlook the intricacies involved in its replacement. Understanding the roof replacement process is essential to ensure durability and protect against future damage. If you’re needing a roof replacement, it’s great to have a basic understanding, too.
This article breaks down the definitive roof replacement process into seven key stages, highlighting what to expect at each step. From initial inspections to the final cleanup, each phase plays a vital role in achieving a functional and aesthetically pleasing roof.
Join us as we explore the essential components of a successful roof replacement, providing you with the knowledge to navigate this important home improvement project confidently.
Conduct a thorough roof inspection

Having a roofing company like Texas Direct Roofing & Construction conduct a thorough roof inspection is the first step before starting a roof replacement project. This process helps identify issues like leaks, damaged shingles, or structural concerns that need addressing. Professional roofing contractors offer valuable insights, particularly about climate-specific challenges, such as those found in North Texas.
During the inspection, the roof’s underlayment condition should be closely evaluated. Any problems here could lead to leaks and uplift issues later on. Roofing contractors comprehensively assess the entire roofing system, from the shingles to the roof vents.
Utilizing a proper inspection allows homeowners to plan effectively, ensuring potential problems are managed before they escalate. This approach not only safeguards the roofing investment but also ensures compliance with building codes, optimizing the replacement process.
Select appropriate roofing materials
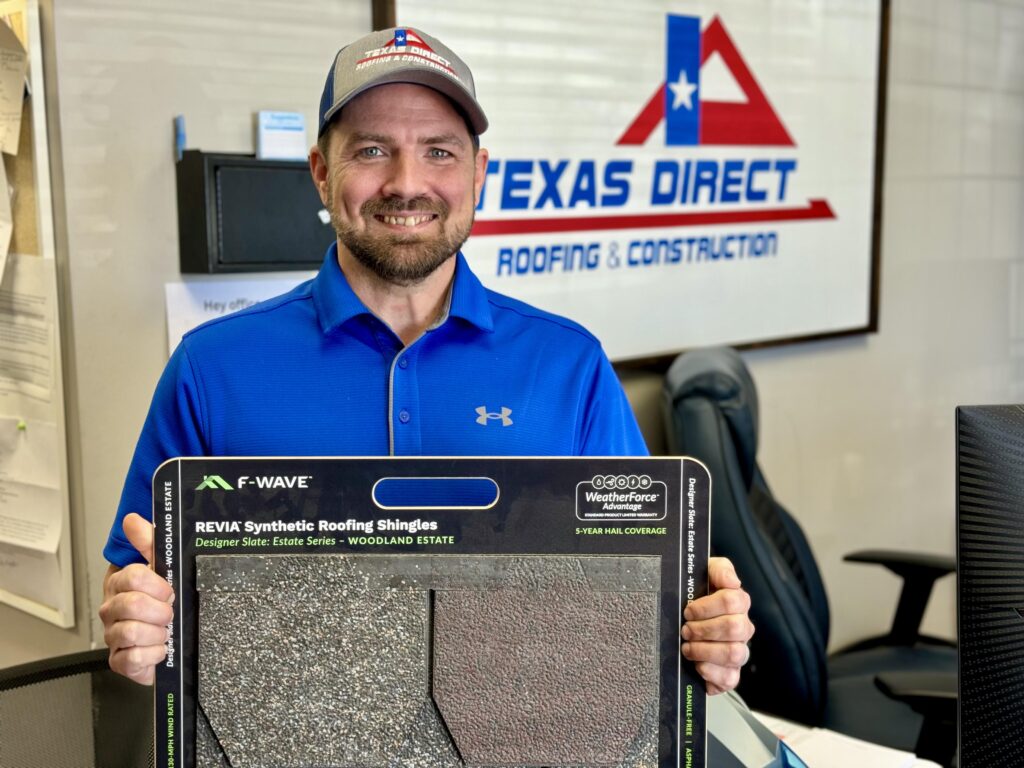
Selecting the right roofing material is crucial for both the durability of the roof and the overall appearance of a home. Popular options include asphalt shingles, which are cost-effective and easy to install, metal roofing known for its durability and energy efficiency, wood shakes for a rustic look, and slate tiles for elegance and longevity.
The choice of materials often varies between residential and commercial properties. While residential roofs commonly use asphalt shingles, metal roofs, and clay tiles, commercial roofs often utilize TPO or EPDM, especially for flat surfaces. The cost of these materials can vary greatly depending on quality and brand, so it’s essential to discuss the pros and cons with your roofing company.

Engaging in a thoughtful selection process can help balance quality with budget constraints. Here’s a quick comparison of common materials:
| Material | Cost | Durability | Aesthetic |
|---|---|---|---|
| Asphalt Shingles | Low | Moderate | Traditional |
| Metal Roofing | Medium | High | Modern/Energy Efficient |
| Wood Shakes | High | Moderate | Rustic |
| Slate Tiles | Very High | Very High | Elegant |
Choosing wisely ensures a durable solution without exceeding budget limits.
Obtain necessary permits and comply with regulations
Before starting a roof replacement project, securing the necessary permits is crucial. Homeowner associations (HOAs) and architectural review boards (ARBs) may impose specific rules regarding roofing materials and colors, which need to be followed precisely. These permits ensure that both homeowners and contractors adhere to local building codes, guaranteeing the safety and structural integrity of the roof.
The permitting process helps inform contractors of material and installation requirements based on the geographical area. Neglecting to obtain these permits can lead to fines and other complications. Therefore, it is essential to consult with local authorities and seek guidance from a reputable roofing contractor to avoid these issues.
Local building codes are in place to ensure safety standards are met during the roofing project. These codes influence various aspects, from the type of roofing materials used to the installation practices. Consulting with a roofing expert helps navigate these regulations effectively, ensuring a smooth roof replacement process.
Tear off the old roof
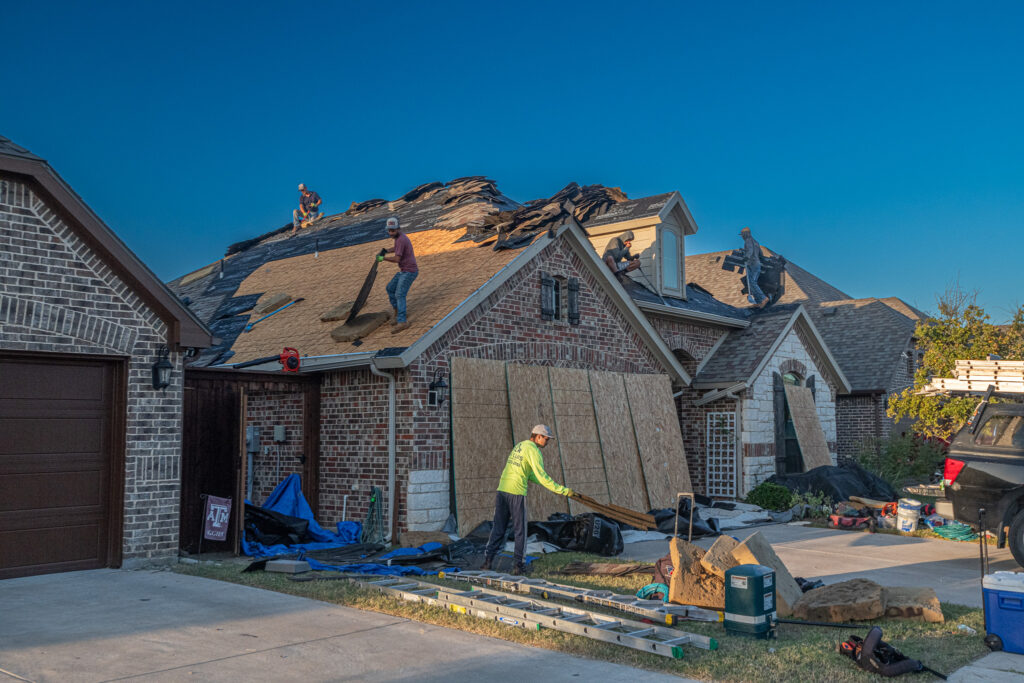
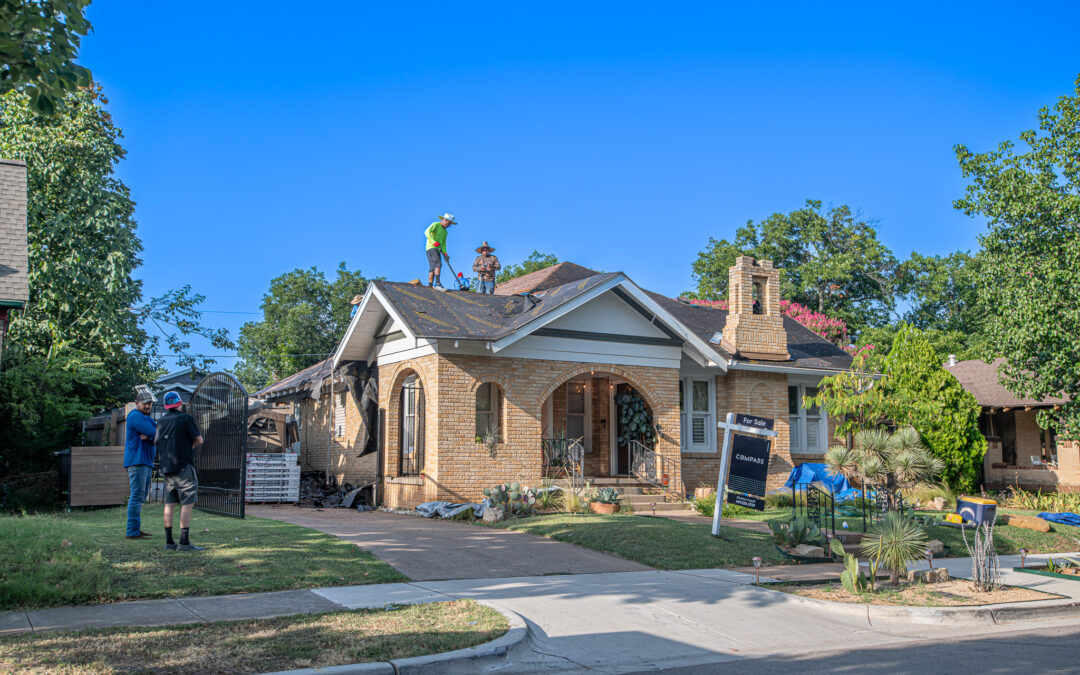
The tear-off process is a crucial step in a roof replacement project, involving the checking or removal of all existing roofing components such as the layer of shingles on top, roof decking, and underlayments. Roofing contractors take care to implement protective measures—like laying down tarps—to catch debris and protect the landscaping and surrounding areas. This helps ensure the process is both clean and efficient.
Roofing crews typically start the tear-off from the furthest corner from the driveway, allowing easier access to dump trailers and efficient debris management. During this phase, professional roofers conduct thorough roof deck inspections to identify any damaged or rotted sections that require repair. This ensures a solid and safe foundation for the installation of new roofing materials.

After removing a section of the roof, the team takes the time to clean out the gutters, which prevents blockages and prepares the site for the next step in the roof replacement process. This systematic approach streamlines the operation and sets the stage for a successful roofing project.
Prepare and repair the decking
Inspecting the roof deck is the first critical step in preparing for a roof replacement. Look for any damaged or rotted sections that need replacement to ensure a solid foundation for the new roof. If using plank decking, gaps larger than 1/8 inch must be replaced in compliance with shingle manufacturers’ installation requirements.
When compromised areas are identified, they should be removed and replaced with suitable materials like CDX plywood or OSB of the same thickness. This ensures a uniform and sturdy base. Before proceeding with new roofing materials, any sections showing signs of water damage or rot must be addressed to prevent future issues.
Next, install an underlayment between the wood decking and roofing materials. This water-resistant or waterproof layer prevents water from seeping into the deck, offering additional protection. Proper preparation of the roof deck is essential for a successful roofing project.
Install new roofing materials
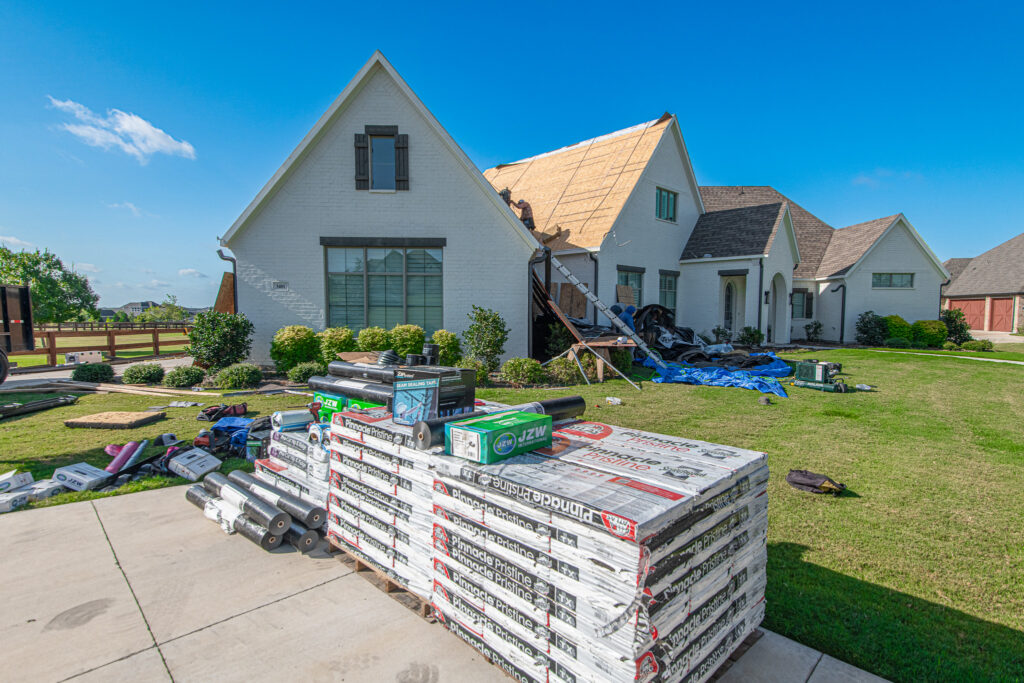
The installation of new roofing materials begins with the delivery of supplies, which should be placed on a paved surface near the roof access point to protect the lawn. A roof is composed of several layers, starting with the roof decking. On top of the decking, layers include the ice and water shield, metal drip edge, underlayment, flashing in valleys and around chimneys, starter shingles, a layer of asphalt shingles, and ridge caps for optimal waterproofing.

Professional roofing contractors often utilize pneumatic nailers for efficient shingle installation and use a chalk line to ensure straight rows as they progress upwards from the starter strip. Proper placement of flashing is crucial in peak or valley areas to prevent leaks, often sealed with caulk for additional protection.
Once the materials are securely installed, a thorough cleanup is performed to remove debris. Finally, a reputable roofing contractor conducts a final roof inspection to ensure the quality and adherence to building codes and standards. This organized installation process ensures a durable and leak-free roof replacement.
Ensure proper ventilation and flashing
Proper ventilation and flashing are crucial for maintaining roof integrity. Adequate ventilation, such as the installation of continuous ridge vents along the roof’s peak, promotes balanced airflow in the attic. This airflow prevents moisture buildup, which can extend the roof’s lifespan by reducing potential damage.
Flashing is essential for creating watertight seals around vulnerable areas like walls, chimneys, and valleys. Proper flashing installation ensures these potential leak points are effectively sealed as the shingle installation progresses. Using suitable materials and techniques for both ventilation and flashing not only enhances a roof’s weather resistance but also contributes to long-term durability.
Incorporating these elements into the roofing project helps safeguard against water damage and ensures that the roofing system remains robust against adverse weather. Meticulous attention to these details during a roof replacement process provides peace of mind and enhances the overall performance of the new roof.
Conduct final inspection and cleanup
After the roof replacement installation process, a comprehensive final inspection is vital to ensure quality and safety. The roofing contractor checks for visible leaks, verifies correct shingle alignment, and inspects proper flashing installation to prevent water damage. This inspection confirms adherence to all project specifications and safety standards.
Following the inspection, a thorough cleanup is conducted. The roofing contractors are responsible for removing debris such as old shingles and roofing nails. A blower typically ensures cleanliness on the roof and in gutters. This cleanup process is crucial to maintaining safety and aesthetics around the property. Loose nails cause major headaches for drivers, so extra care is given to find them all.
Finally, a walk-through with the homeowner is conducted by the professional roofing contractor. During this meeting, all agreed-upon tasks are reviewed for completion, and any client questions are addressed. This ensures customer satisfaction and confirms that all project goals have been met effectively.
Conclusion: Importance of following key stages in roof replacement
Concluding a roof replacement project successfully hinges on following specific stages diligently. It begins with securing permits from local building departments to ensure compliance with building codes. This is vital to prevent legal issues and ensure safety standards are met.
A thorough roof inspection by a professional roofing contractor identifies existing issues and informs a strategic plan for the replacement process. Such preparation minimizes disruptions during the project, protecting the property and keeping neighbors informed. Removing old roofing materials rather than layering new ones on top is crucial to avoid future structural problems and provides a stable foundation for the new roof.
By following these structured stages, you not only enhance the longevity of the roof but also boost the property value. This systematic approach, led by a skilled roofing crew, ensures that each step is executed properly, resulting in a roof that stands the test of time. Employing a reputable roofing contractor and using quality roofing materials, like asphalt shingles and metal drip edge, is essential to achieving a successful outcome.

